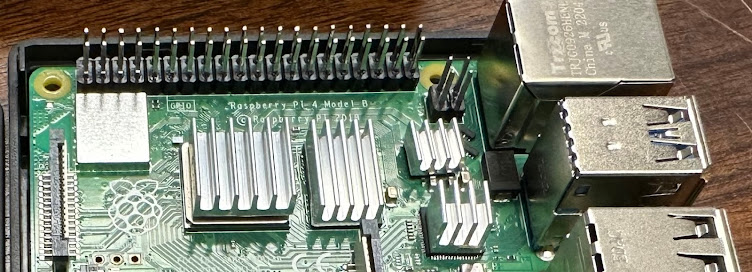
I have all the parts that I ordered (and a few cables and items from my own supply) to make the Lightning Network Node on a Raspberry Pi. See this blog post for background and a YouTube video link and some links to what I found on Amazon that would complete the computer that I'll be making.
The main purchase was this Raspberry Pi kit suggested by a video I watched.
 |
| Raspberry Pi's box top |
 |
| Side panel w/ features |
The other parts include an internal disk drive and its case. The two together are generally cheaper than buying an external drive that needs no assembly. Once the drive is in the case, it will function like an external drive for the Raspberry Pi (which has no hard drive of its own, I believe).
 |
| The case and components |
 |
| The drive |
This was easy to assemble. There is little room for error; things fit together only in one way.
 |
| Case, opened, on left; drive on right |
 |
| Drive plugged into case's circuitry |
The drive plugs into an insert/board. It seemed snug, but there are screws included in the kit that can be used to further secure the two together.
 |
| Underside of the assembled case + disk |
 |
| Close-up of empty screw holes |
I put in the four screws, assembled the whole thing, and I was done with the hard drive. The device below will plug into the Raspberry Pi to be it "hard drive." The main thing stored on it will be the full Bitcoin node--a full copy of all the transactions that have ever happened on the Bitcoin network. That is necessary for the Lightning node to function.
 |
| Assembled drive |
Overall, that was not too difficult. On the videos I watched, I saw that their drives were powered by the Raspberry Pi's port and not an external power cord (like I have above). I hoped it would not matter. If it worked, and I just needed another open outlet for it... Fine by me.


No comments:
Post a Comment